Custom report pages can be edited, for example, to include additional reports (tables, graphs, etc.) or to include additional variables or instances of a variable in an existing graph.
Click the Reports tab in the main window to display the Reports page (figure).
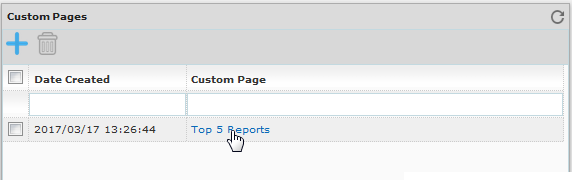
In the Custom report pages frame, click the existing custom report page item that you would like to edit (as shown in the figure below).
Figure: Opening a custom report page
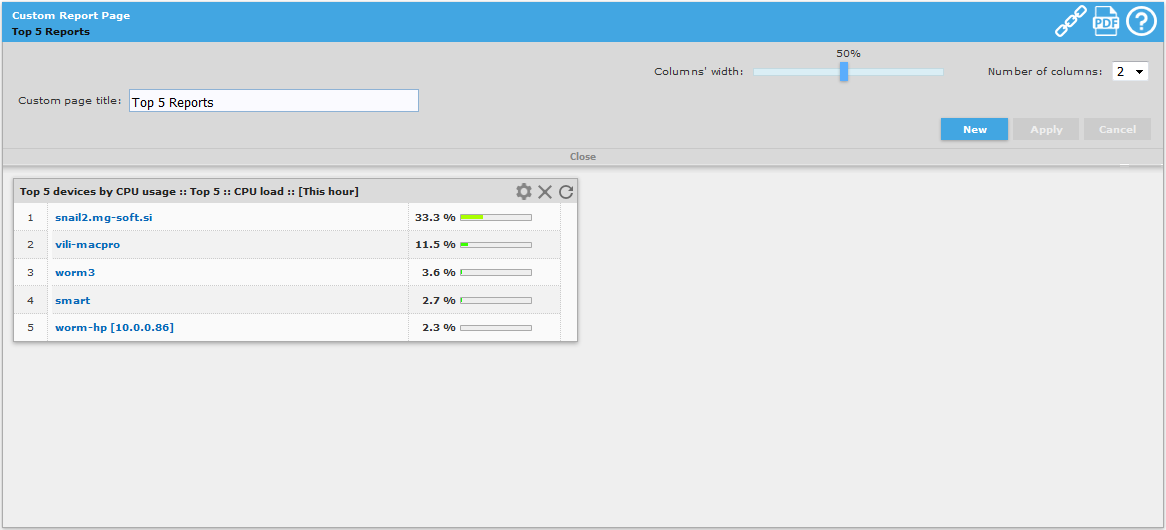
The custom report page is displayed. Click the Edit page layout button below the frame titlebar to open this drop-down frame (as shown in figure below). Every custom report page contains one ore more rows, and every row contains zero or more reports: tables or graphs or maps. The number of reports per row depends on the value set in the Number of columns drop-down list. The custom page displayed in the figure below contains one row and one report within this row (Top5 devices by CPU usage table).
Figure: Viewing a custom report page in page configuration mode
To add an additional report (table or graph) to the row shown in the figure above, make sure to select number 2 or 3 in the Number of columns drop-down list in the Edit page layout frame.
Then, click the New button (
 ) in the Edit
page layout frame to add a new report next to the existing
one in the custom report page (see the image below).
) in the Edit
page layout frame to add a new report next to the existing
one in the custom report page (see the image below).Figure: Configuring a second report in the custom report page
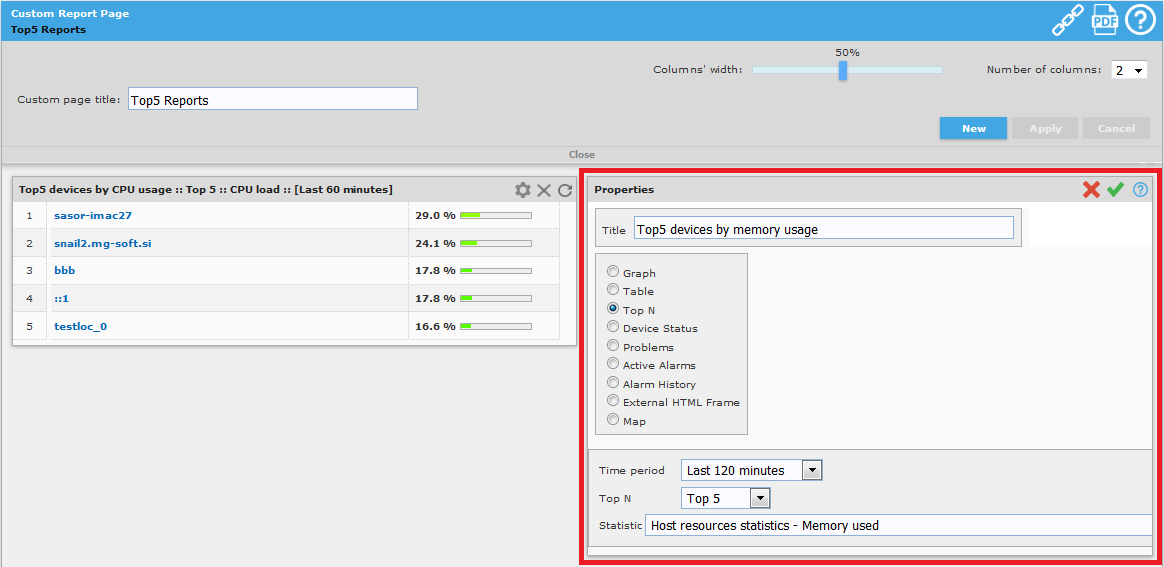
Select the appropriate entries in the Properties frame of the new report, as described in topic Creating Custom Report Pages, step 7.
After you have finished configuring the settings for the new report, click the OK button (
 ) in the Properties frame to
create and view the report
page containing both reports (as shown in the image below).
) in the Properties frame to
create and view the report
page containing both reports (as shown in the image below).Figure: Custom report page with two objects (tables) in a row

To move a report frame to a different location in the custom report page, click the titlebar of the frame, hold down the left mouse button and drag the frame to the desired position. The shaded down-arrow markers appear at the location where the dropped frame will be positioned (Figure). Release the left mouse button to drop the frame to the marked position.
After repositioning the frames, click the Apply button (
 ) in the Edit
page layout frame to apply and save the changes.
) in the Edit
page layout frame to apply and save the changes.Click the Close button in the Edit page layout drop-down frame to close this frame.